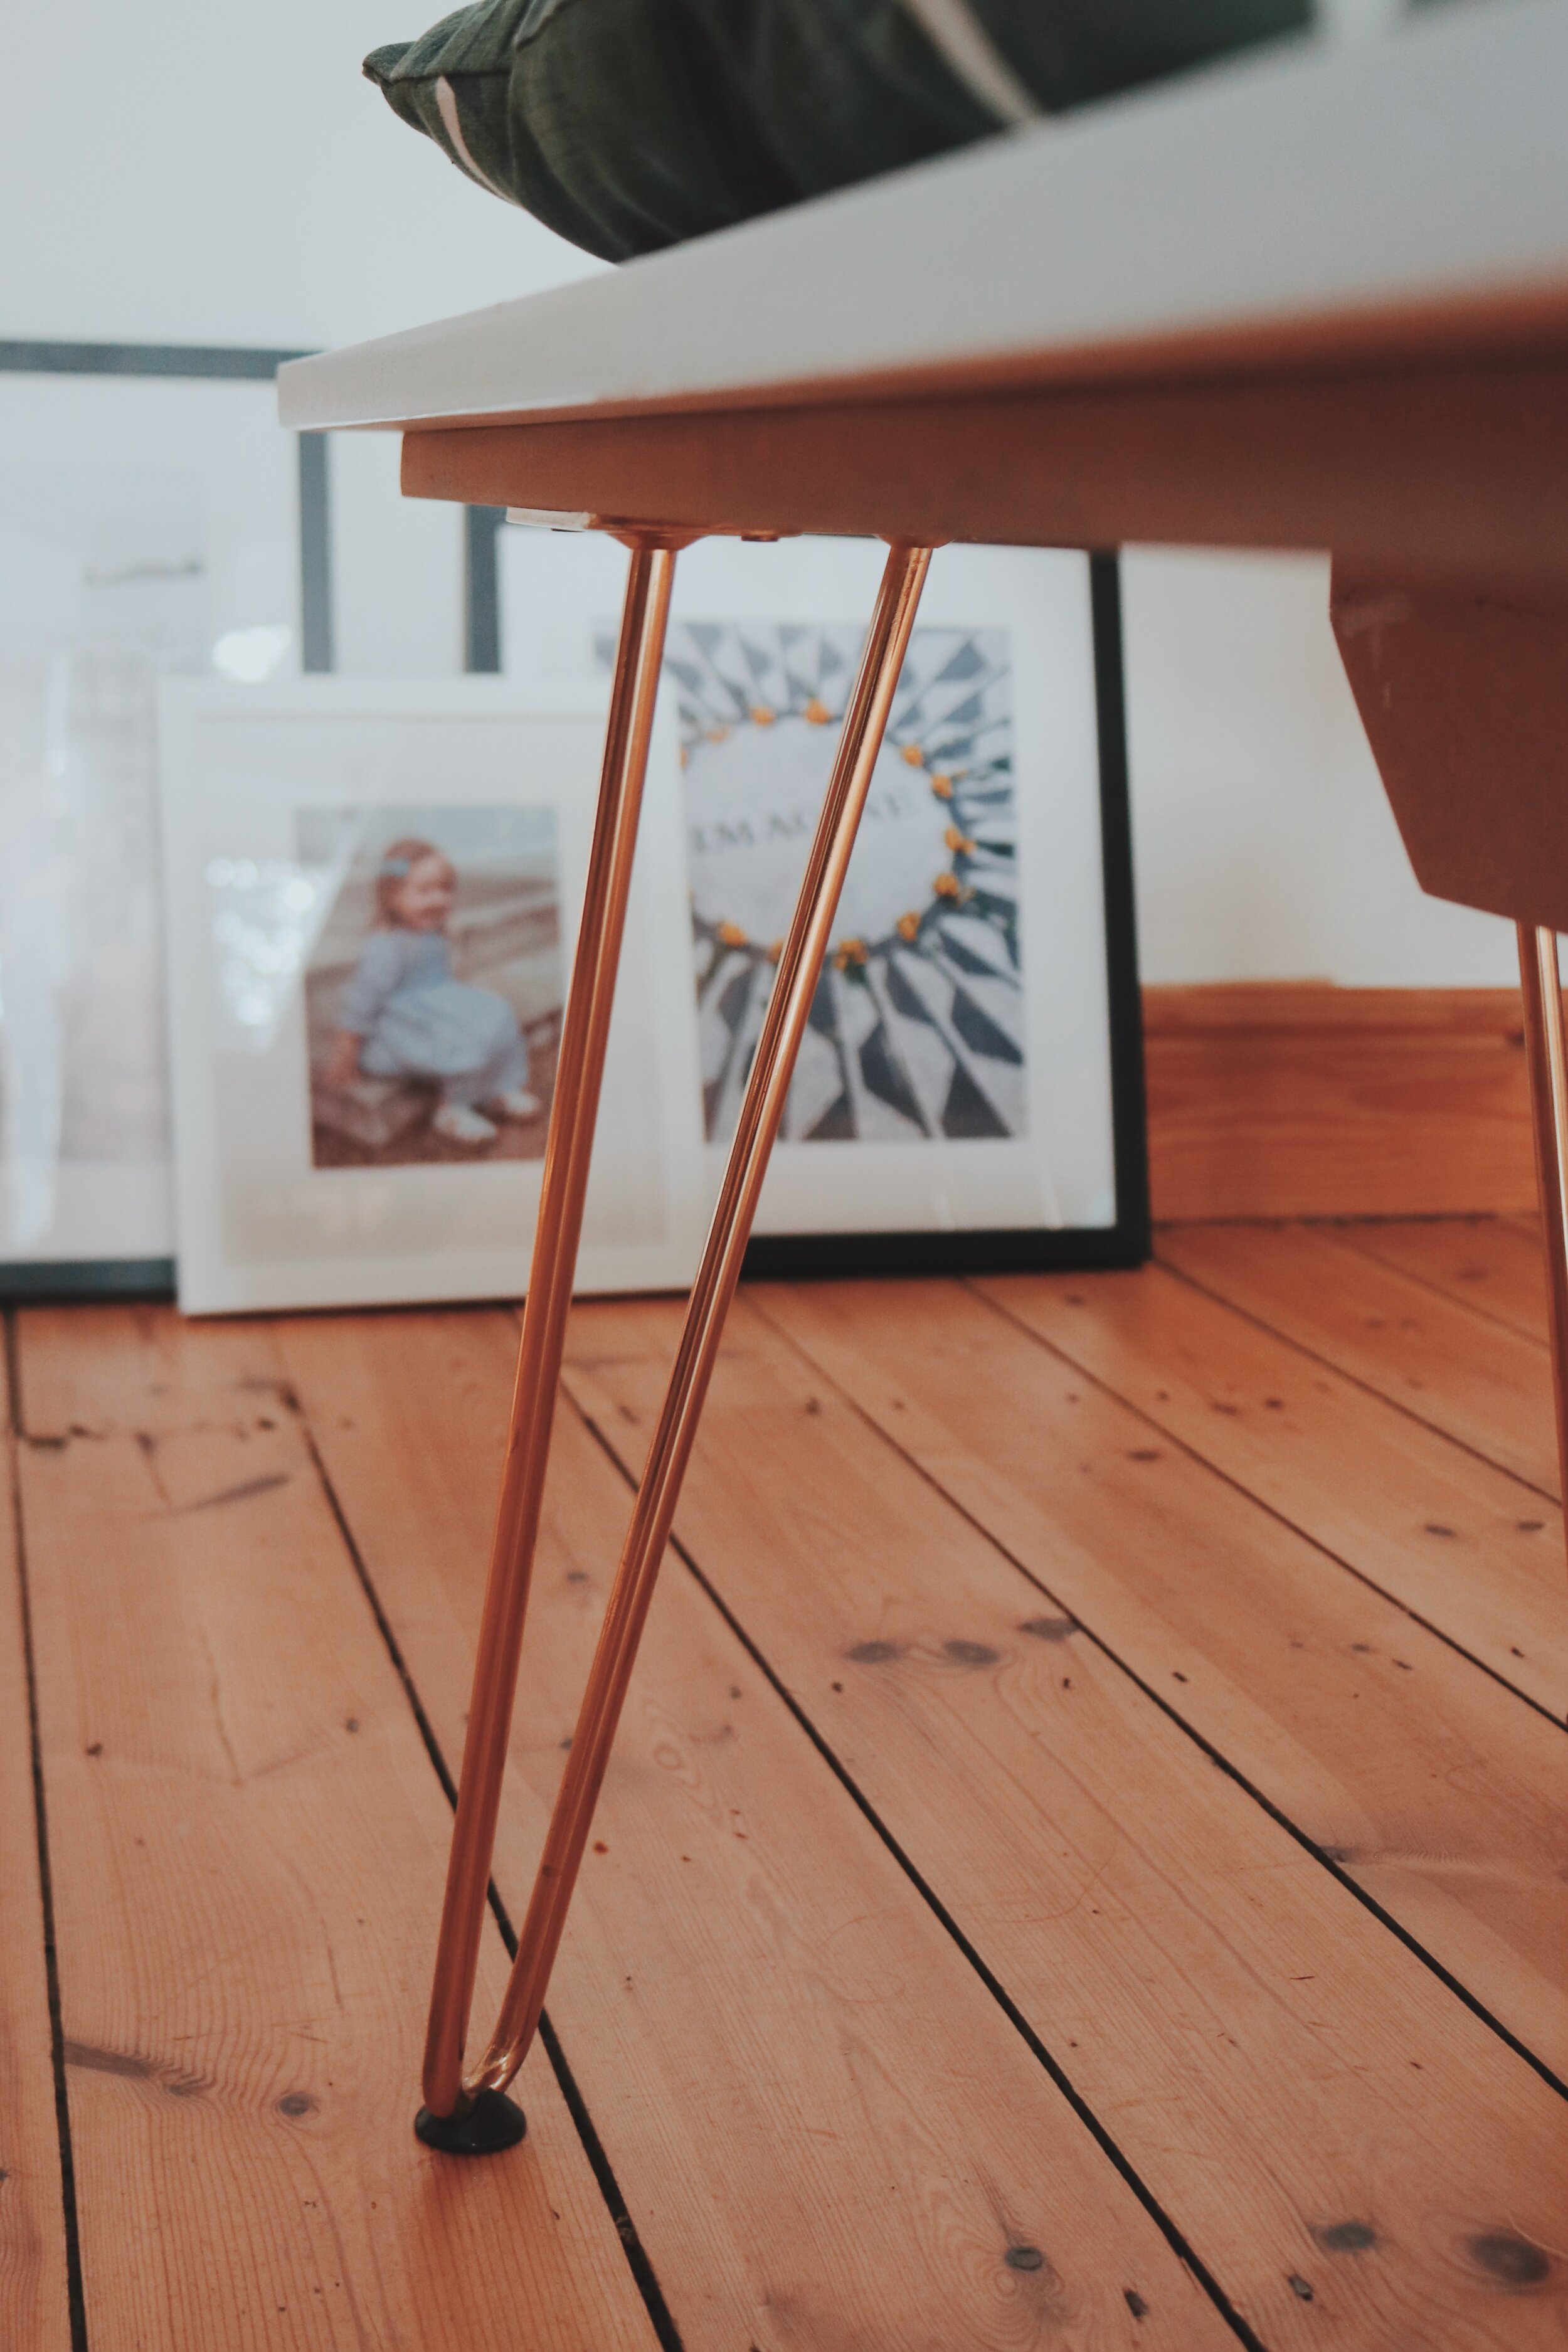
How to Add Hairpin Legs to Furniture
One of the questions I get asked the most when I share photos of my dining room is “Where did you get your table and bench from?”. In truth we made it, as I couldn’t find a table of that size that I both loved and could afford. After doing a bit of research of inexpensive ways to make furniture, I discovered that hairpin legs were the solution (and I already had some in my office). I know they aren’t a new thing but they are so versatile and can change a sheet of MDF into a table so easily, which I know strikes a chord with so many DIYers and renters.
I thought it was about time I shared a little how to on how I have used hairpin legs around our house, I have them in my office, June’s room and of course, the dining room. I bought all my hairpin legs from funnily enough a company called….Hairpin Legs! They have different heights for a variety of projects, and the legs come with rubber stoppers for the floor which I use to protect the wooden floors.
I have always loved simple design when it comes to furniture, I love adding prints to my home, but mainly through soft furnishings, as it makes it easier to change it up and move things around. Before we lived here, I’d always dreamed of a huge dining room table, as I love to have family and friends round for feasting, so it was important for me to have one that seats 8-12 people easily.
This dining room table, with its matching bench was really simple to put together, the MDF sheets for the bench and table top was cut to order, and delivered. This can be a bit pricer than going to pick it up, but from a practical perspective it’s much easier than trying to strap it our car. I could, and should open a trade account with a wood yard. It’s worth looking into if you have a few things to make, as you will get discount on your materials. You can also get wood cut in B&Q, so if you are able to transport it home, I would try there too.
If you are making any kind of desk or bench, you must make sure to brace the board to be strong enough to hold it’s weight and stop any sagging of the wood in the middle. To do this simply use a strip of wood, 3/4 of the length of the table and screw it into the underside. you can see this in the below photo. We have lots of wood scraps in the garage, always worth checking what you have to utilise before you order one.
Our dining table didn’t take long to complete, once it was built, it was a case of painting it and then we made one matching bench to sit alongside. This was made in the exact same way but with shorter hairpin legs, I added cushions that used to sit on our sofa, which match the curtains. We had another set of hairpins to make a second bench, but feedback from my family was that some people wanted back support, which is why we have chairs on the other side. It’s great to have the option, and it meant I had one set of hairpins leftover….enter June’s wardrobe DIY.
This cupboard was part of a set at my parents house which had become redundant after they had used the drawers that sat below it and refashioned them into built in wardrobes. The wardrobe part was given a sand, a paint and then we added the hairpin legs to the bottom of it it. This has worked out better than I had hoped as not only do the legs lift it up to a non back breaking height but it actually makes the unit look less boxy, and of provides storage underneath (baskets are from Rice and available here).
These hairpin legs really suit my style and our home, as renters it is also a very inexpensive way to have made to measure furniture that can be taken apart and moved easily when necessary.
The 3rd and final place you can find hairpin legs in my house is my office, this was the easiest of the three projects and actually the 1st DIY we did a few years ago when we lived in Margate. The wood on top of this table is a pre cut sheet of ply wood that we’ve bought straight off the shelf rom Wickes, we used to buy this particular size of wood a lot, before we really got into DIY. Plywood is sturdier than MDF, and at this size doesn’t sag so doesn’t need reinforcing. The legs can go straight into the plywood, but again we were DIY novices so decided to it this way incase the screws came through, but I actually like the accidental design feature we created. I’ve just retired this desk, as my office now needs to accommodate two people, it disassembled so quickly and we will reuse the legs and wood for another project.
What do you think? Are hairpin legs your style, or do you have any in your home? Let me know in the comments below!


